
- Mobile Phone
- +8613931874955
- sales@cntcmetal.com


installing stucco lath
Installing Stucco Lath A Comprehensive Guide
Stucco is a popular exterior finish that offers both aesthetic appeal and durability. To achieve a high-quality stucco application, one of the crucial steps is the installation of stucco lath. This foundational layer helps provide a stable base for the stucco and enhances its bonding. This article will guide you through the process of installing stucco lath to ensure a successful stucco application.
Understanding Stucco Lath
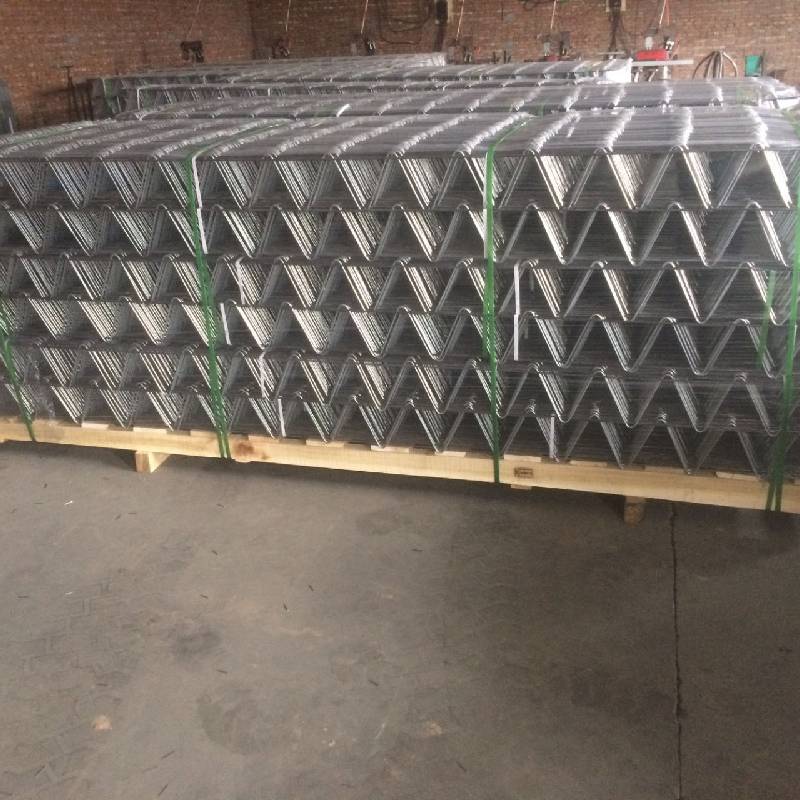
Stucco lath serves as a framework for the applied stucco material, which is typically made of metal or wood. The choice between the two largely depends on environmental conditions and personal preference. Metal lath, made from galvanized steel, is resistant to rot and insect damage, making it the preferred choice for many professional applicators. Wood lath, although traditional, may not be as durable but can still be used in less humid climates.
Tools and Materials Needed
Before embarking on the installation, gather the necessary tools and materials
- Stucco lath (metal or wood) - Galvanized nails or screws - Hammer or power drill - Measuring tape - Snips (for metal lath) - Level - Chalk line - Stapler (for paper backing, optional) - Protective gear (gloves, goggles)
Preparing the Surface
Proper preparation of the surface where the stucco lath will be installed is essential. Ensure that the wall is clean, dry, and free of any debris. If you're installing the lath over existing siding, it may be beneficial to remove it to get a better bond. It’s also a good idea to install a moisture barrier, such as building paper, to protect against water infiltration, which can lead to mold and structural damage.
installing stucco lath
Measuring and Cutting the Lath
Measure the wall sections you’re installing the lath on. Cut the lath to the appropriate size using snips for metal lath or a saw for wood lath. Ensure that you have enough pieces to cover the entire wall without gaps. When cutting metal lath, protect your hands and eyes, as sharp edges can cause injury.
Installing the Lath
Start at the bottom of the wall and work your way up, overlapping each course slightly. If you're using metal lath, attach it using galvanized nails or screws every 12 inches along the studs. Be mindful to secure the edges and corners properly. For wood lath, spacing should be about 1/4 inch apart between strips to allow for proper stucco application.
Use a level to ensure that the lath is straight, adjusting as necessary to maintain evenness. When working around windows and doors, be sure to cut the lath to fit snugly around the frames.
Final Inspection and Preparation for Stucco Application
Once the lath is installed, conduct a thorough inspection for any loose areas or sections that need additional fastening. Ensure that all areas are securely attached to the underlying structure. If you're applying a scratch coat before the final stucco finish, you can also add corner beads and control joints at this stage.
To summarize, installing stucco lath is a critical step in achieving a long-lasting stucco finish. By following these guidelines and preparing adequately, you’ll create a robust framework that enhances the durability and performance of your stucco application. Whether you’re a homeowner trying your hand at DIY construction or a professional contractor, paying close attention to each step will lead to impressive results. Happy building!
share:
-
The Ultimate Solution for Display Needs: Wire Grid PanelsNewsMay.06,2025
-
The Ultimate Guide to Galvanized Steel WireNewsMay.06,2025
-
Iron Binding Wire: The Ideal Solution for Your NeedsNewsMay.06,2025
-
Explore the Strength and Versatility of Galvanized Welded Wire FabricNewsMay.06,2025
-
Discover the Durability and Versatility of PVC Galvanized WireNewsMay.06,2025
-
Discover Quality China Stainless Steel Wire MeshNewsMay.06,2025
-
Understanding Wall Ties: Types and ImportanceNewsApr.28,2025