- Mobile Phone
- +8613931874955
- sales@cntcmetal.com
installing stucco lath
Installing Stucco Lath A Comprehensive Guide
Stucco lath is a critical component in the exterior finish of buildings, providing a stable base for stucco applications. It is essential to understand how to install stucco lath correctly to ensure a durable and long-lasting finish. This article will take you through the necessary steps and considerations for effectively installing stucco lath.
Understanding Stucco Lath
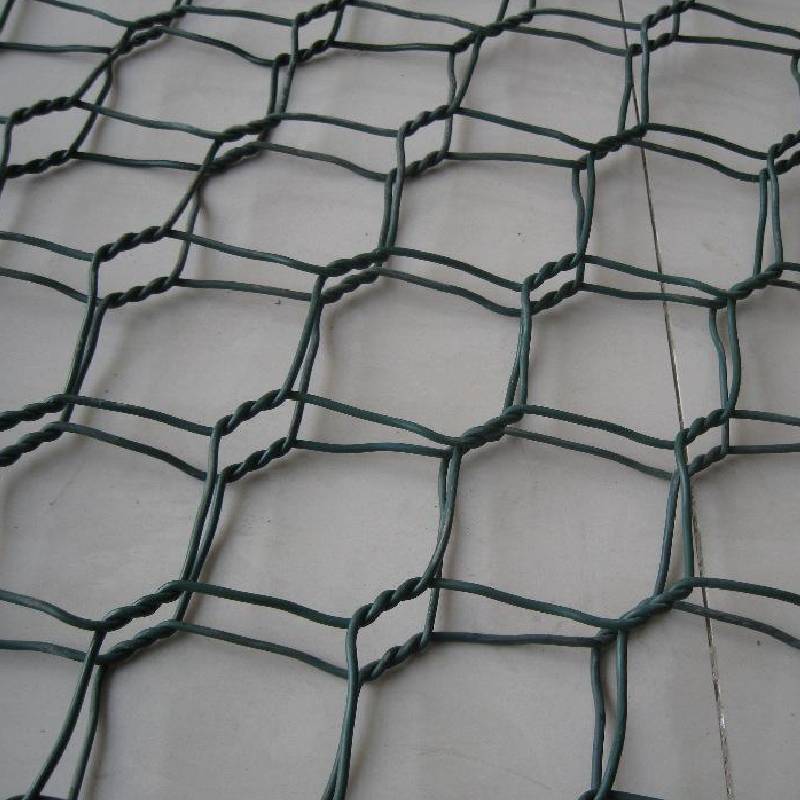
Stucco lath serves as a reinforcement layer for the stucco, which is a mixture of cement, sand, and water. The lath can be made from various materials, including galvanized metal, galvanized wire, or wood. Metal lath is the most common choice due to its durability and resistance to corrosion. Understanding the properties of the chosen lath material is crucial for a successful installation.
Tools and Materials You'll Need
Before beginning the installation process, gather the following tools and materials
- Metal lath or wood lath - Galvanized nails or screws (if using wood lath) - Staple gun and staples (for metal lath) - Straight edge and level - Measuring tape - Tin snips or metal cutters (for metal lath) - Hammer or power drill (for fastening) - Utility knife - Safety goggles and gloves
Preparing the Surface
Before installation, ensure that the area where the stucco lath will be applied is clean and free of any debris. Remove any loose or flaking paint, and make sure the underlying surface is smooth. If applying lath over a wall system (e.g., sheathing), it must be moisture-resistant to prevent water damage. Inspect the wall for any signs of water damage or mold, addressing these issues before proceeding.
Installing the Lath
installing stucco lath

1. Measure and Cut Using the measuring tape, determine the height and width of the wall sections where the lath will be installed. Cut the lath using tin snips or a metal cutter to the appropriate sizes. Always wear safety goggles when cutting metal lath to protect your eyes.
2. Position the Lath Starting at the bottom, position the first piece of lath horizontally against the wall. Ensure the lath's flange is facing upward. The lath should cover the entire surface area without any gaps.
3. Fasten the Lath If using metal lath, use a staple gun to attach the lath to the wall, placing staples every 16 inches along the edges and 24 inches in the field. For wood lath, use galvanized nails or screws to secure the lath, maintaining the same spacing. Be careful not to overstretch the lath material as you fasten it; it should lay flat against the wall.
4. Overlap the Lath When installing additional pieces of lath, ensure they overlap the edges of the previous sections by at least 1 inch. This overlap is crucial for creating a seamless surface; it will help prevent water from seeping behind the stucco finish.
5. Corner and Edge Treatment For corners and edges, special corner beads or trim are recommended to provide a clean and defined edge. Install these first, followed by the lath, ensuring they are properly aligned and secured.
Final Inspection and Preparation
After all lath is installed, perform a final inspection to ensure everything is correctly positioned and secured. Check for any loose sections or gaps that may need additional fastening or adjustments. Once satisfied with the installation, you're ready to proceed with the stucco application.
Conclusion
Proper installation of stucco lath is crucial for the longevity and integrity of stucco finishes. By following these steps, you can create a solid foundation for your stucco application. The combination of attention to detail, correct materials, and proper installation techniques will yield an aesthetically pleasing and durable exterior for your building. Always prioritize safety during the installation process and consult professional resources or contractors if needed. Happy building!
share:
-
Why Sacrificial Formwork Is Redefining Underground ConstructionNewsJun.06,2025
-
The Structural Dynamics of Modern Concrete: How Snake Spacers Revolutionize Flexible ReinforcementNewsJun.06,2025
-
Snake Spacers Smart-Lock Concrete Reinforcement with Surgical PrecisionNewsJun.06,2025
-
Snake Spacers: Reinforcement Precision for Modern Concrete ProjectsNewsJun.06,2025
-
Snake Spacers Powering Concrete's Structural DNANewsJun.06,2025
-
Slither into Success: Snake Spacers' Precision Bite for Unbreakable ReinforcementNewsJun.06,2025
-
Sacrificial Formwork: Building Stronger, Faster, and Safer StructuresNewsJun.06,2025


