- Mobile Phone
- +8613931874955
- sales@cntcmetal.com
installing wall ties
Installing Wall Ties A Comprehensive Guide
Wall ties are essential components in the construction of cavity walls. They help maintain structural integrity by connecting the outer and inner leaves of walls, which can be crucial for ensuring stability and durability. Whether you are a DIY enthusiast or a professional contractor, understanding the process of installing wall ties correctly is paramount for achieving a sturdy wall structure. In this article, we’ll guide you through the steps involved in installing wall ties effectively.
Understanding Wall Ties
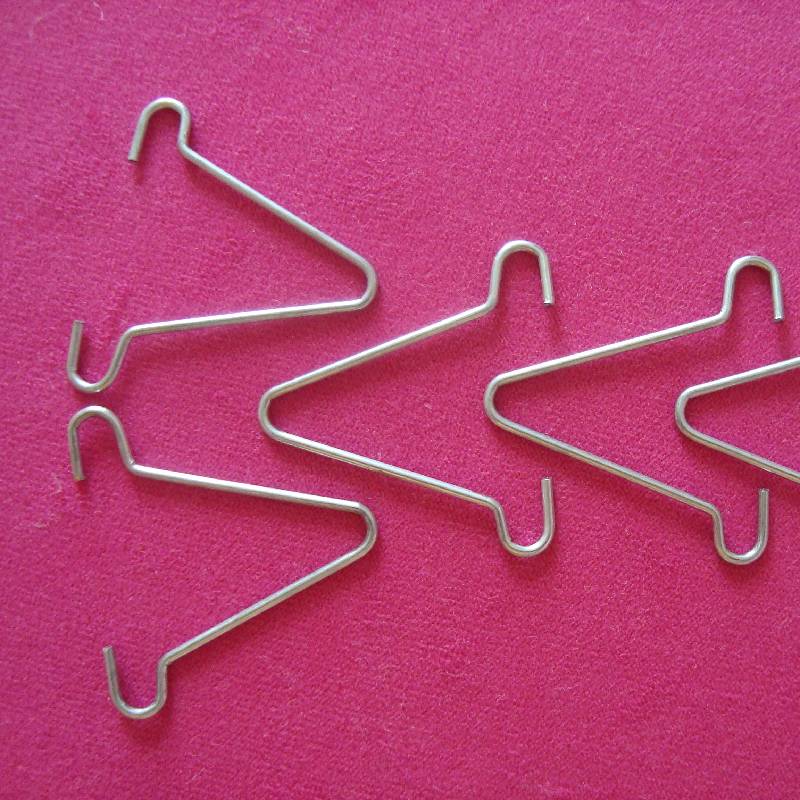
Before we dive into the installation process, it is important to grasp what wall ties are and their significance. Wall ties are typically made of stainless steel, which offers resilience against corrosion. They are available in various shapes, sizes, and types, including expanding and non-expanding ties. Their primary function is to bond the two leaves of a cavity wall together while allowing for some movement, accommodating any thermal expansion or contraction.
Tools and Materials Needed
To install wall ties, you will need several tools and materials
- Wall ties (appropriate type and size for your project) - Drill with masonry bits - Trowel - Level - Measuring tape - Safety goggles and gloves - Mortar (if necessary)
Installation Steps
installing wall ties

1. Planning and Measurement Begin by planning the installation. Determine the appropriate spacing for the wall ties, which is typically around every 900 mm horizontally and every 450 mm vertically. Use a measuring tape to mark where the ties will go.
2. Drilling Holes Using a masonry drill bit, create holes in the outer leaf of the wall at the marked locations. Ensure the holes are deep enough to accommodate the wall ties, typically around 75 mm deep, and slightly angled downwards to prevent moisture accumulation.
3. Inserting Wall Ties Place the wall ties into the drilled holes. Ensure that the ties are positioned approximately one-third to halfway into the wall thickness. The ties should be installed with their wings facing the inner leaf, helping them stay anchored.
4. Securing the Ties Once the ties are in place, use mortar to secure them. Fill the hole around each tie with mortar to prevent any moisture ingress. Ensure the ties are leveled and correctly aligned with the inner leaf of the wall.
5. Final Inspection After installing the wall ties, inspect them for proper spacing and alignment. Use a level to verify that they are straight and properly anchored.
6. Setting the Mortar Allow the mortar to cure as per the manufacturer’s instructions. This usually takes at least 24 hours, depending on humidity and temperature conditions.
Conclusion
Installing wall ties is a crucial step in ensuring the stability of cavity walls. By following the steps outlined above, you can achieve a solid and durable wall structure. Always keep safety in mind, using protective gear, and consult relevant guidelines or professionals if needed. Proper installation of wall ties will not only enhance the durability of your building but also contribute to its overall safety and performance.
share:
-
Your Source for Concrete Wall Ties and Masonry AccessoriesNewsJul.10,2025
-
Unlocking the Power of Iron Wire for Every ProjectNewsJul.10,2025
-
Explore Advanced Chain Wire and Stainless Steel Mesh FencingNewsJul.10,2025
-
Discover the Benefits of Annealed Wire ProductsNewsJul.10,2025
-
Discover China Stainless Steel Wire Mesh SolutionsNewsJul.10,2025
-
Build with Confidence Using High-Performance Masonry AccessoriesNewsJul.10,2025
-
Why Sacrificial Formwork Is Redefining Underground ConstructionNewsJun.06,2025


