- Mobile Phone
- +8613931874955
- sales@cntcmetal.com
plaster angle bead 3m
Understanding Plaster Angle Bead A Comprehensive Overview
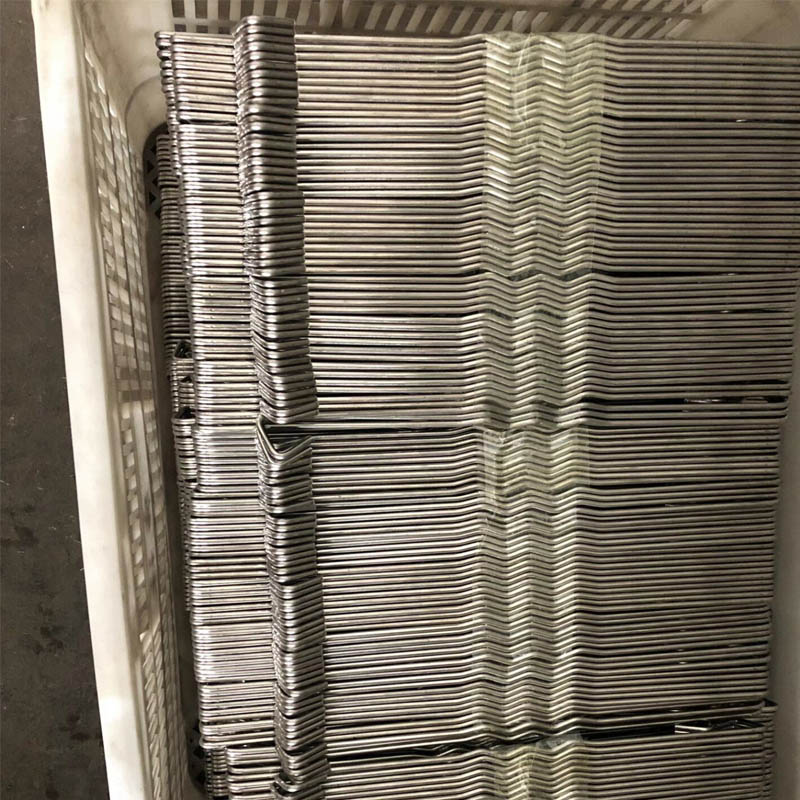
Plaster angle beads are essential components in the world of plasterwork and drywall finishing, often overlooked yet crucial for achieving a polished and professional finish. Typically made from galvanized steel or plastic, these beads are specifically designed to reinforce and protect external corners in plastered walls. This article delves into the significance, applications, and installation process of plaster angle beads, particularly focusing on the 3-meter length variant, which is widely used in both residential and commercial construction.
What is an Angle Bead?
An angle bead is a thin strip installed at the corners of walls, doorways, and windows before plastering. Its primary purpose is to provide sharp, clean lines on the edges of walls, ensuring that the finish is both smooth and aesthetically pleasing. The incorporation of angle beads is crucial in preventing chipping, cracking, or damage to corners, which are often susceptible to wear and tear over time.
Why Use a 3-Meter Angle Bead?
The choice of a 3-meter angle bead is particularly advantageous for several reasons. First, it minimizes the number of joints required during installation, thus reducing potential weak points in the plasterwork. Fewer joints mean less likelihood of cracking over time, which can be an issue with shorter lengths that require multiple pieces joined together. Additionally, the extended length of 3 meters provides installers with more efficiency, as they can cover larger sections with fewer materials, saving both time and labor costs.
Applications of Plaster Angle Beads
Plaster angle beads are typically used in various construction and renovation projects. They are ideal for both interior and exterior finishes, supporting not only residential constructions but also commercial buildings. Contractors often rely on these beads in applications such as
1. Residential Homes Whether in new builds or renovations, plaster angle beads provide a neat finish to living spaces, bathrooms, and kitchens. 2. Commercial Spaces In offices and retail environments, a clean and professional appearance is vital. Angle beads help achieve this standard.
plaster angle bead 3m

Installation Process
The installation of plaster angle beads is a straightforward process, but it requires precision to ensure the best results. Here’s a step-by-step guide on how to install a 3-meter plaster angle bead
1. Preparation Begin by preparing the wall surface to ensure it is clean, dry, and ready for the bead application. Any loose material should be removed to allow for proper adhesion.
2. Measurement and Cutting Measure the length of the corner where the angle bead will be installed and cut the 3-meter bead to the required length if needed. However, in many cases, a 3-meter bead can cover an entire corner without modification.
3. Fixing the Bead Use nails, screws, or adhesive to secure the angle bead to the corner of the wall. Ensure it is straight and aligned properly.
4. Plastering Once the bead is secured, apply plaster over the bead, ensuring to feather it out to achieve a smooth transition between the bead and the wall.
5. Finishing Touches After the plaster has dried, sand the area as needed and ensure the corner is sharp and well-defined.
Conclusion
Plaster angle beads, especially those available in a 3-meter length, play a vital role in achieving both functionality and beauty in plastered surfaces. Their protective capabilities and contribution to a polished finish make them an indispensable tool for builders and DIY enthusiasts alike. Understanding their application and installation can significantly enhance the longevity and aesthetic quality of any plastering project. Whether you're a professional contractor or a homeowner embarking on a renovation, utilizing plaster angle beads will ensure your corners remain pristine and resilient against damage.
share:
-
Why Sacrificial Formwork Is Redefining Underground ConstructionNewsJun.06,2025
-
The Structural Dynamics of Modern Concrete: How Snake Spacers Revolutionize Flexible ReinforcementNewsJun.06,2025
-
Snake Spacers Smart-Lock Concrete Reinforcement with Surgical PrecisionNewsJun.06,2025
-
Snake Spacers: Reinforcement Precision for Modern Concrete ProjectsNewsJun.06,2025
-
Snake Spacers Powering Concrete's Structural DNANewsJun.06,2025
-
Slither into Success: Snake Spacers' Precision Bite for Unbreakable ReinforcementNewsJun.06,2025
-
Sacrificial Formwork: Building Stronger, Faster, and Safer StructuresNewsJun.06,2025


